Monday, December 7, 2015

Cooking With Kids - Uglies, Salad and Banana Boats


This week in co-op, I had the kids make Uglies.   I split them up into three different groups to make the BBQ Uglies, Gravy Uglies, and Italian Uglies.
They loved making them.  It was super easy and they were ALL delicious! 
(we doubled the amounts as we made 16 of each flavor and had  almost a full quart sized baggie of the filling left! I will share what we used to make the 16)

You can get the printable version of these recipes here

What you need to  make 16 of each:
2 lb of hamburger
1 chopped onion
1 tsp of garlic powder
some flour for rolling out the biscuits
2 - cans of canned biscuits (there are  GF and Corn-Free ones)
cooking spray
muffin tins 

BBQ
3- cups of BBQ sauce( there are GF and Corn-Free ones)
Shredded Cheddar Cheese for topping

Gravy
3 - cups of any kind of brown/beef gravy
Shredded Sharp Cheese for topping

Italian
3 - cups of favorite spaghetti sauce (Newman's Own is corn-free)
Shredded Mozzarella Cheese for topping


Let's Cook!

Make sure you have ready:  1 chopped onion/per Uglies' recipe (We usually have an adult cut the onions due to the "tear making" fumes they sometimes have.)

Preheat oven to 400 degrees F (200 degrees C). Lightly grease 16 muffin cups.


Step 1: 

 In a frying pan, sprinkle some salt on the bottom and add in the meat, crumbling it as you put it in. (make sure hands are always washed after touching raw meat!Turn the heat to medium.  Cook for about 1 -2 minutes and then add in the onions. Add in the garlic powder. Continuing cooking until the meat is all brown and the onions are very soft.   Line a bowl with paper towels or some napkins.   Pour the meat mixture into the bowl.  The paper towels/napkins will absorb the grease! Now put the meat mixture back into the pan.

Step 2:
Time to add in the sauce.   Pour the sauce into the meat mixture and bring to a simmer.   Continue simmering for 3 minutes.

Step 3:
Open your biscuits.   Sprinkle a little flour on the counter and take one biscuit , using a rolling pin, roll it out to about 6 inches.  Put one rolled out biscuit in each muffin "cup/hole". (If you find the biscuit to be too big, you can make them a little smaller.  Just make sure that you are pressing them into the muffin tin and you can "pinch"up the sides if there is extra.)

Step 4:
Fill each biscuit fill almost to the top with the meat mixture; top with the cheese.

Step 5:
Bake in preheated oven until biscuits are baked, cheese is melted and tops are golden brown, about 15 minutes.
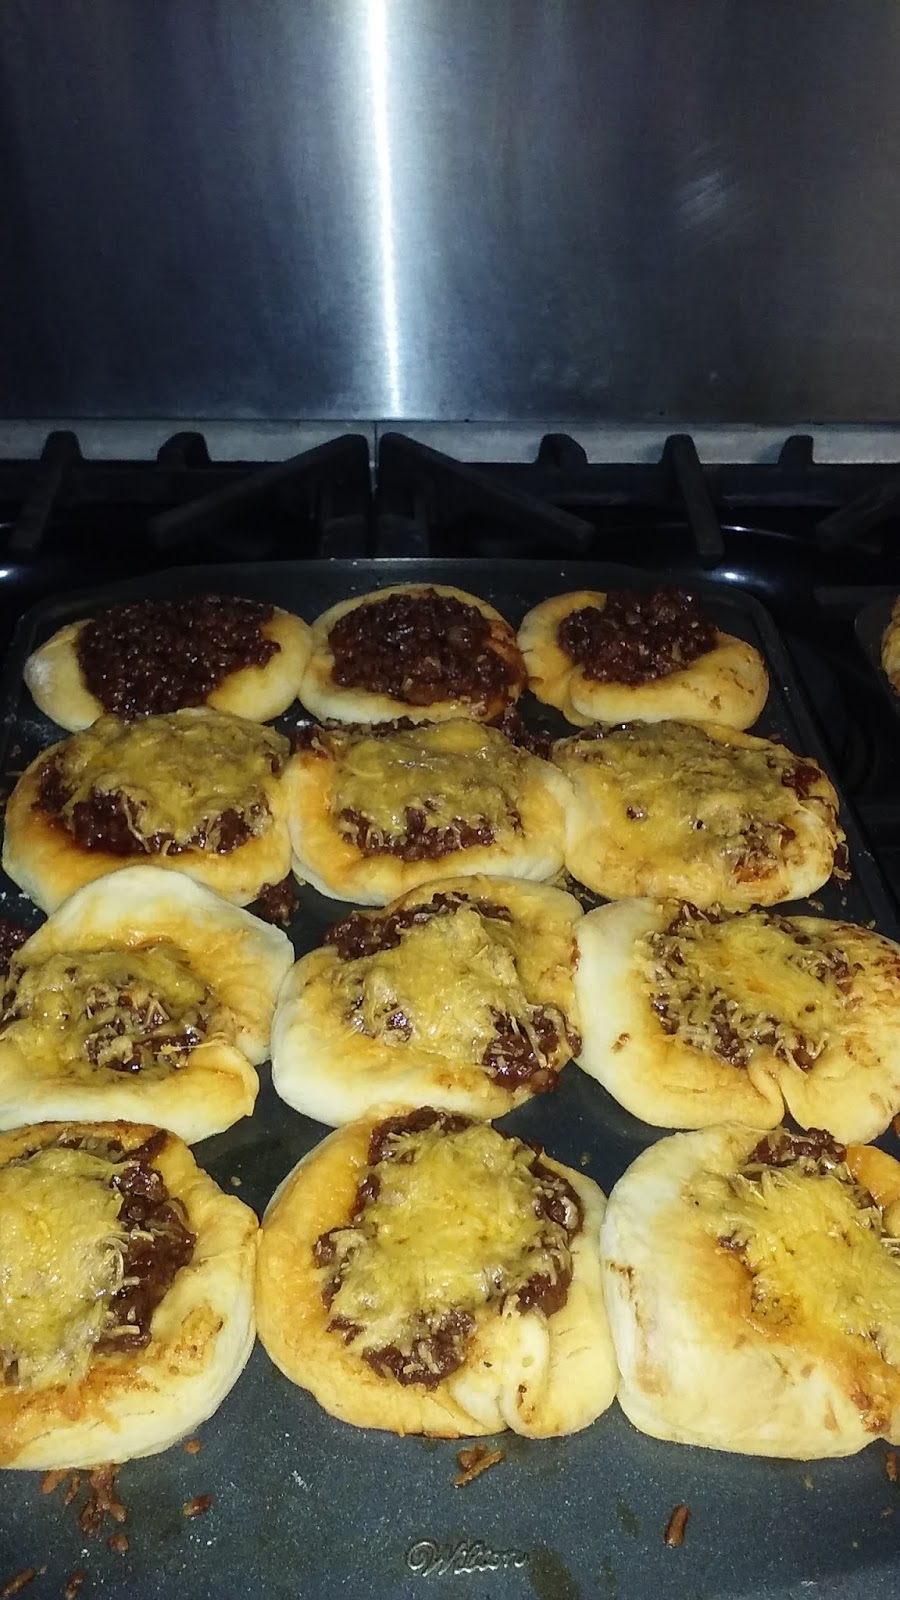

BBQ and Cheddar Cheese
(a couple of the kids didn't want the cheese on theirs)

Gravy and Sharp Cheese

Italian


Banana Boats


What you need:

1 unpeeled banana per kid (or 2 if they really like them!)
aluminum foil
favorite toppings: chocolate chips, peanut butter chips, mini marshmallows, caramel, coconut, etc. 

Preheat oven to 300 degrees

Step 1

Slit each banana lengthwise through the peel, making sure not to cut all the way through to the other side. 

Step 2

Stuff the bananas with marshmallows and chocolate chips or whatever you want to stuff it with.

Step 3

Wrap each banana in aluminum foil and put in the oven for 5 minutes, or until chocolate is melted. Eat with a spoon.

Salad

While you are waiting for your Uglies to cool; you can put your salad together!  Shred up your lettuce adding in your favorite vegetables.  Top it off with your dressing of choice and mix well. 


I hope you and your loves will enjoy it as much as all the kids at co-op did!

Friday, December 4, 2015

DIY Kid's Craft- Popsicle Nativity


This is a great Nativity craft to do with kids of any age!  We did these in co-op today and the ages range from 3 - 10. 

Here is what you will need:


6 - jumbo popsicle sticks
1 - gold pipe cleaner
wood glue
Acrylic paint - blue, brown, cream, purple
adhesive magnet strips
Fine point black sharpie (not in the picture above)


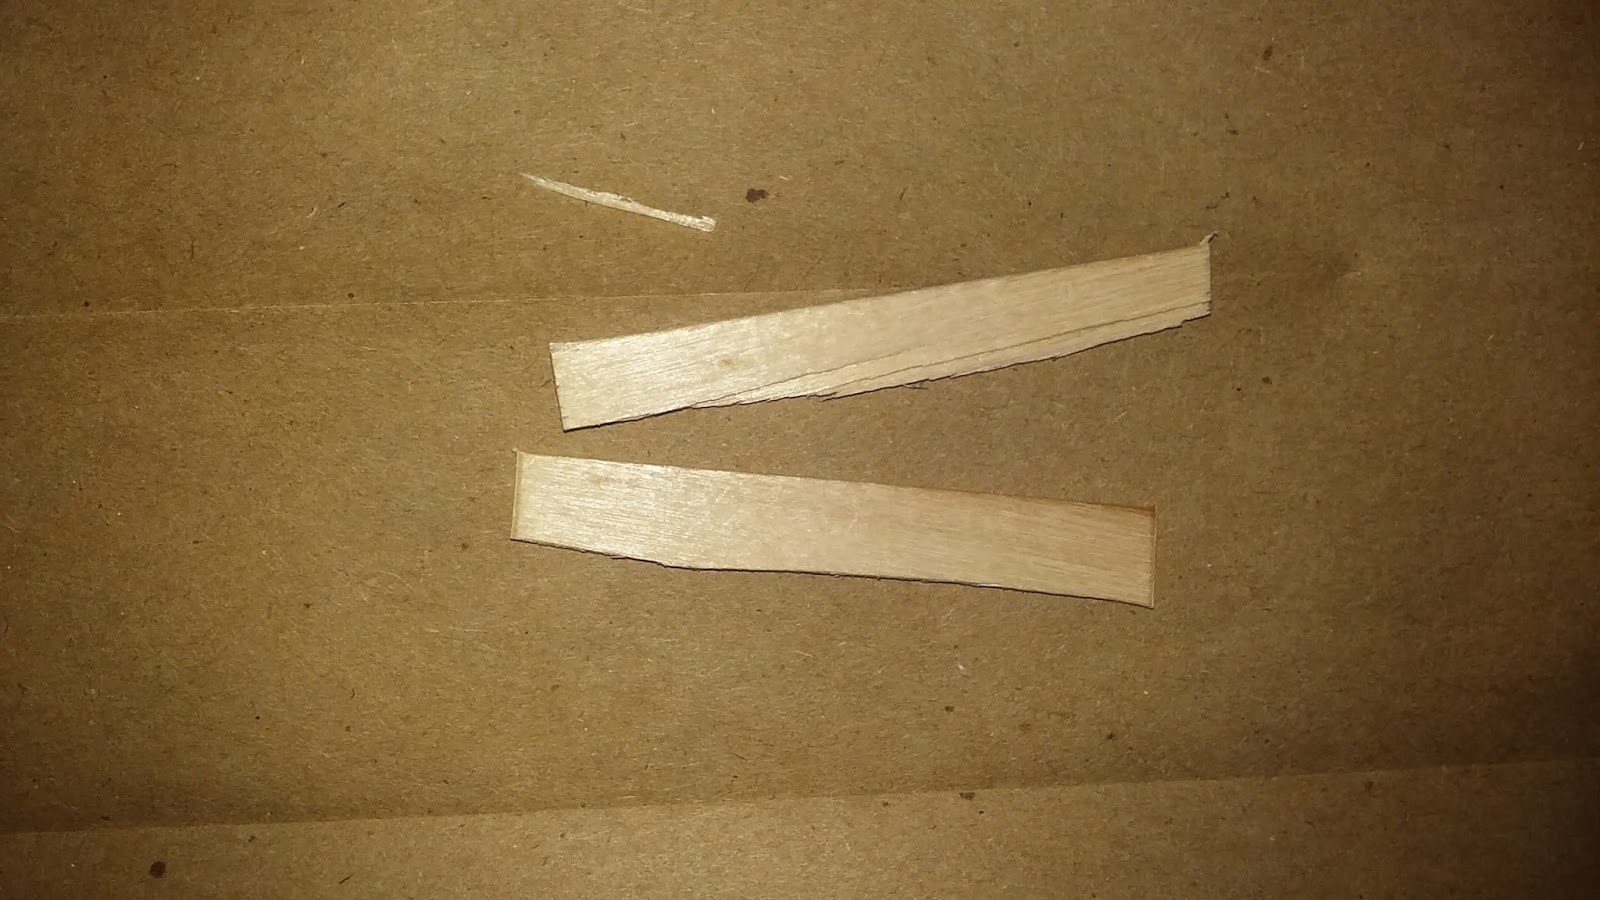
Step #1:  Make the stable. Cut one of the popsicle sticks in half.  These will be used for the side walls.  Cross two whole sticks for the roof and a full one for the bottom.  Glue together and set aside to dry. 


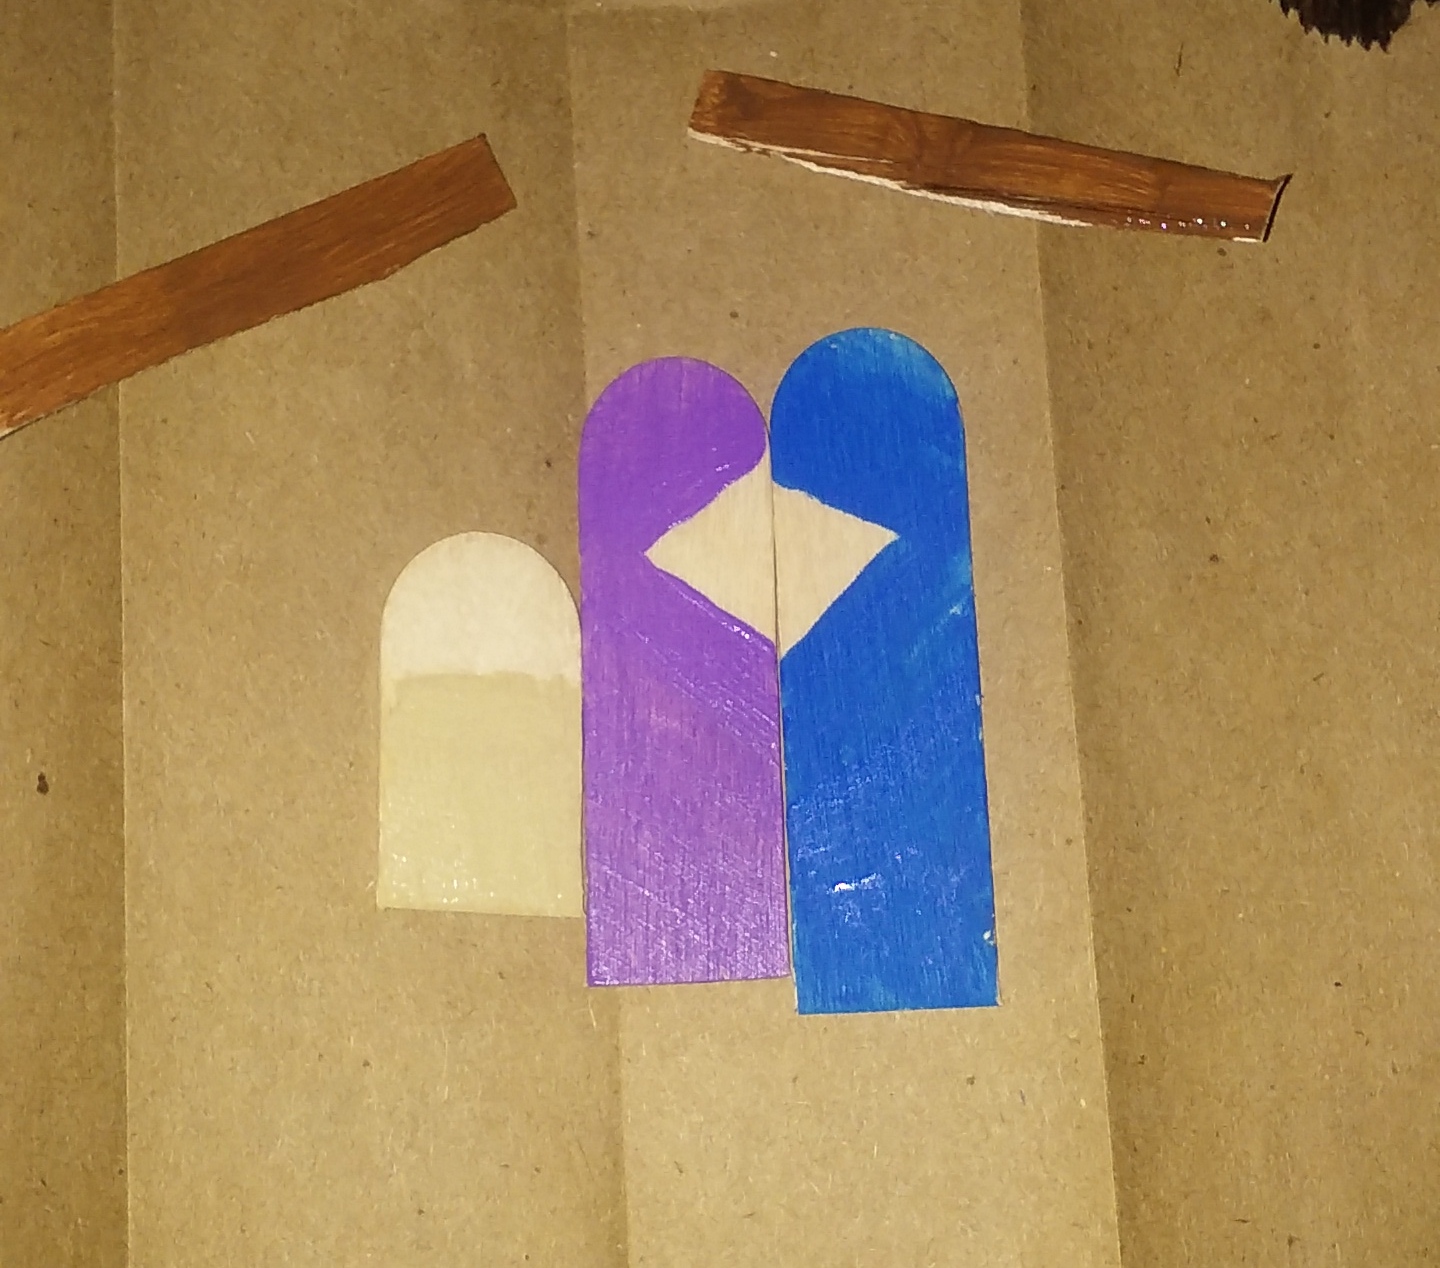
Step #2 : Make the people.  Cut one whole popsicle almost in half.  This will be Mary and Joseph.   Take the other whole popsicle stick and cut about an inch of one end off, to make baby Jesus.  


Step #3 : Make the manger. Take the rest of the remaining popsicle stick and cut about 2 inches off.  Then cut that piece in half to make the manger.


Step #4 : Time to paint.  Make sure you paint leaving a "<" shape FREE of paint for the faces of Mary and Joseph.  One "<" and the other ">" because they will BOTH be facing the manger. Paint 3/4 of baby Jesus in cream to represent the swaddling cloth.   Also paint the manger and set aside to dry. 


Step #5 : Put the eyes on Mary, Joseph and baby Jesus with the Sharpie. Just make a "u" for Mary and Joseph's 1 eye and 2 "u's" for baby Jesus.


Step 6: Add the manger onto the stable. Make sure that it is wide enough for baby Jesus to show through.  (My baby Jesus does show, but you can't see his swaddling cloth very well.)


Step 7:  Write a verse on the roof pieces.  I messed up with "Isaiah 9:6", I needed to put them together, but I still like it.


Step 8 : Make a star with gold pipe cleaner. (I only had yellow at the time but did use gold for the co-op ones.)  Put glue on the spot where the roof crosses and some on the star. 


Step 9:  Glue Mary and Joseph onto the backside of the stable making sure they each tilt and face the manger.  Then glue in baby Jesus to the backside of the stable between the manger pieces. 


I hope you enjoyed this little tutorial and have as much fun as we did making them.  


Thursday, December 3, 2015

Minecraft Advent Study


Have your kids fallen in love with Minecraft like mine have?  I am even smitten with it and enjoy playing along side my loves.  

Two years ago, I came across a great site, SKrafty,  that is not ONLY a safe site for my kids to play on, it ALSO has classes!   The prices are super reasonable. 
My kids have taken these classes:


My kids have loved each one of these classes.  They get to play Minecraft during school without getting yelled at!   

I see that they have right now a FREE Advent for you and your kids to do!  


This looks awesome!  I can't wait for the boys and I to start.  We might be a few days behind, but I am sure we will have fun playing catch up!  

Wednesday, December 2, 2015

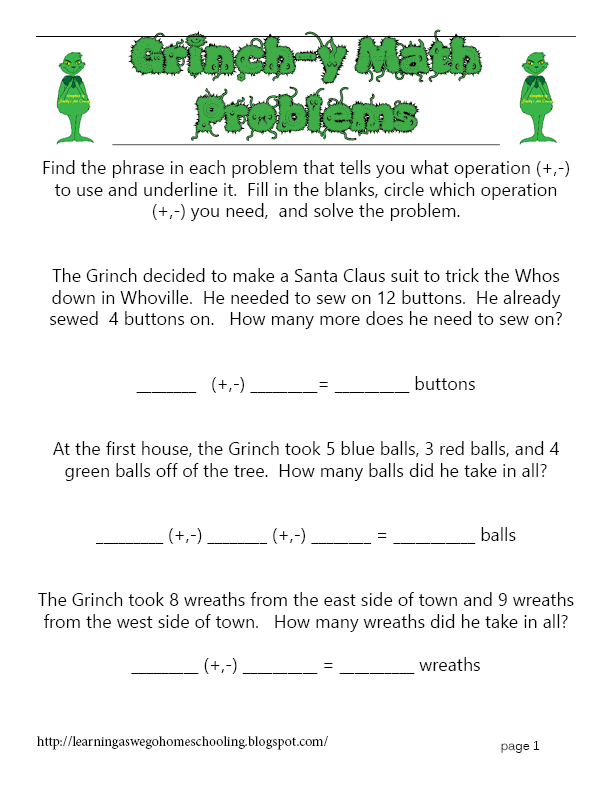
Grinch-y Math Problems - Addition and Subtraction Worksheet


I am at it again, doing more Grinch themed worksheets.  This time I thought I would do some great addition and subtraction word problems.  It is two pages full of problems the Grinch is having while he is in Whosville.   

Check out all my other Grinch-y worksheets out below. 


 You can get these fun sheets at my store

~


Here are my other Grinch-y worksheets:


Tuesday, December 1, 2015

A Homeschooler's Life - The Comparing Game


One trap most homeschooling mommas fall into is the
  Comparing Game.  

What do I mean?

You meet a new homeschooling family.  Their 8 year old child can sing to you the state's capitals to the tune of "Yankee Doodle Dandy".  While YOUR 8 year old keeps thinking he lives in the country of New York.   

OR

You get together with a homeschooling family at their house for a play date.   While there,  the momma shows you her school room.   It is an actual room with color-coded boxes, files, pencils, even scissors.   She shows you her schedule all laid out and , of course, color-coded.   All you can think about is how you do your school on the couch using tray tables.  You are the farthest thing from being organized and feel like a winner if you can actually get the next day's work printed out  the night before. 

Been there, Momma?   Do these encounters make you feel as if you have no business even trying to homeschool?  Do not fall into this COMPARING GAME.  

Now NOTHING is wrong with being able to teach your 8 year old the state capitals to the tune of "Yankee Doodle Dandy" or being SO organized that it is almost a work of art.

But what I have learned is this: Comparing myself and my kids to others only lead to unhappiness.  I have tried to push my kids to be "as good as" others, to end in tears on both ends.  That is NOT how homeschooling your loves should be. So   Every year, I try to be a more organized and better homeschooling momma. I realized that the more happier and content I am with my homeschool, the more my kids are.  I may never reach the goal of "color-coded bliss", but I will try.  My children may never be able to sing all the capitals of every state to the tune of "Yankee Doodle Dandy", but they will know them.  


Every child learns at different levels and to their best ability.   There is no way you can compare.  If you know your child is doing their best and you are doing the best YOU can.  You are winning at everything that is truly important.