

This is a great Nativity craft to do with kids of any age! We did these in co-op today and the ages range from 3 - 10.
Here is what you will need:

6 - jumbo popsicle sticks
1 - gold pipe cleaner
wood glue
Acrylic paint - blue, brown, cream, purple
adhesive magnet strips
Fine point black sharpie (not in the picture above)
Step #1: Make the stable. Cut one of the popsicle sticks in half. These will be used for the side walls. Cross two whole sticks for the roof and a full one for the bottom. Glue together and set aside to dry.

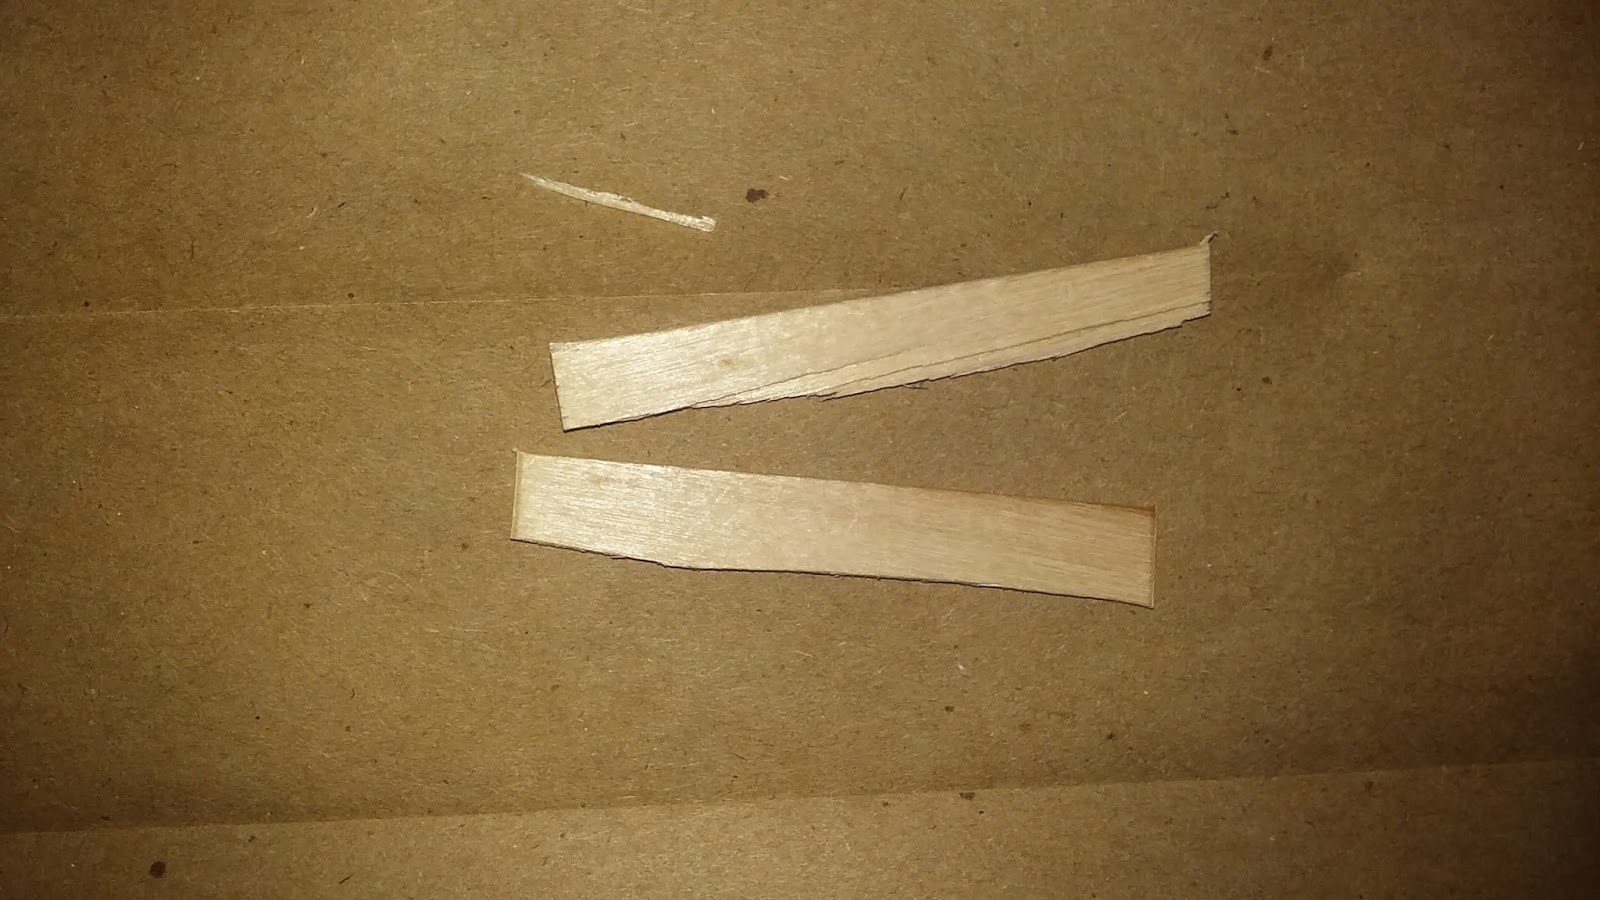
Step #2 : Make the people. Cut one whole popsicle almost in half. This will be Mary and Joseph. Take the other whole popsicle stick and cut about an inch of one end off, to make baby Jesus.

Step #3 : Make the manger. Take the rest of the remaining popsicle stick and cut about 2 inches off. Then cut that piece in half to make the manger.
Step #4 : Time to paint. Make sure you paint leaving a "<" shape FREE of paint for the faces of Mary and Joseph. One "<" and the other ">" because they will BOTH be facing the manger. Paint 3/4 of baby Jesus in cream to represent the swaddling cloth. Also paint the manger and set aside to dry.
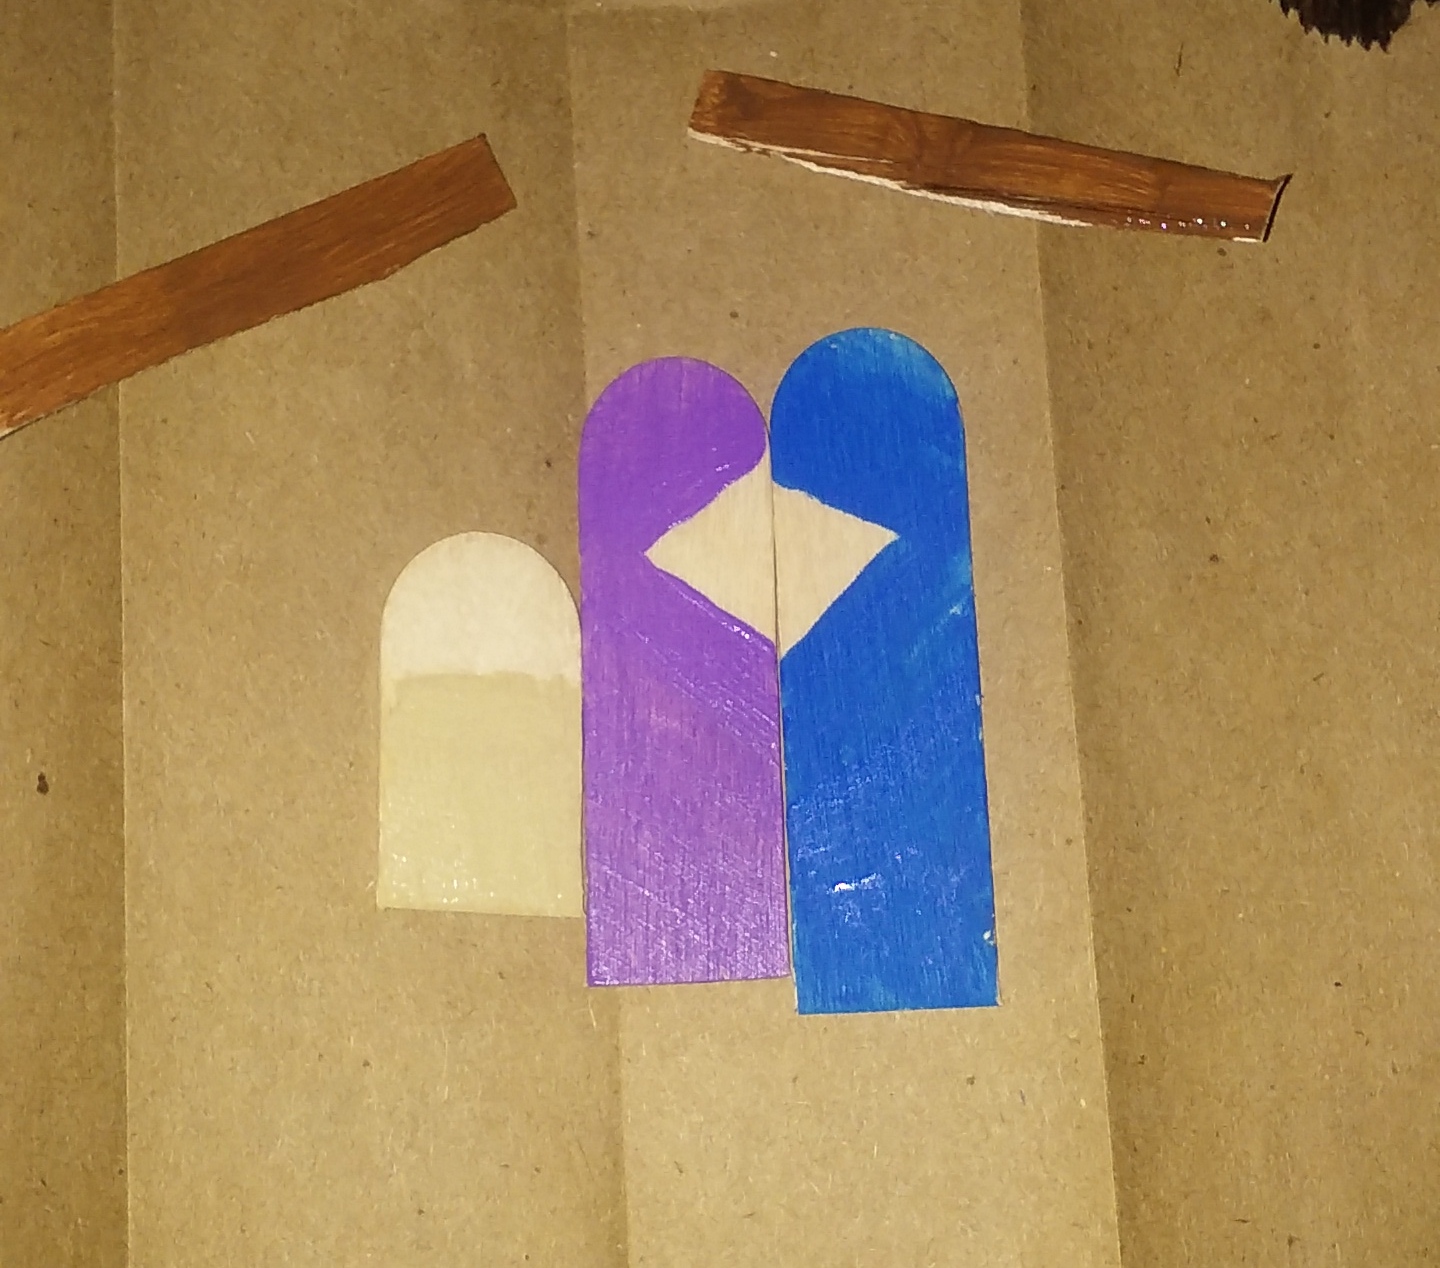
Step #5 : Put the eyes on Mary, Joseph and baby Jesus with the Sharpie. Just make a "u" for Mary and Joseph's 1 eye and 2 "u's" for baby Jesus.

Step 6: Add the manger onto the stable. Make sure that it is wide enough for baby Jesus to show through. (My baby Jesus does show, but you can't see his swaddling cloth very well.)

Step 7: Write a verse on the roof pieces. I messed up with "Isaiah 9:6", I needed to put them together, but I still like it.

Step 8 : Make a star with gold pipe cleaner. (I only had yellow at the time but did use gold for the co-op ones.) Put glue on the spot where the roof crosses and some on the star.

Step 9: Glue Mary and Joseph onto the backside of the stable making sure they each tilt and face the manger. Then glue in baby Jesus to the backside of the stable between the manger pieces.

I hope you enjoyed this little tutorial and have as much fun as we did making them.
No comments:
Post a Comment